How to Embed an AI Chatbot on Your Website
How to Embed an AI Chatbot on Your Website
Integrating an AI-driven chatbot into your website has become a key strategy for improving customer engagement, streamlining operations, and driving business growth. The ability to deploy a functional chatbot without extensive coding knowledge is especially appealing to tech-savvy business owners and developers. In this guide, we’ll break down the process of embedding an AI-powered chatbot into your website, using insights from Safari Agava, an experienced engineer and educator with expertise in AI, cloud computing, and more.
By the end of this article, you’ll understand how to integrate a chatbot into your website, troubleshoot common challenges, and customize its appearance to fit your brand.
Why Build and Embed an AI Chatbot?
AI chatbots provide instant, automated responses to user queries, offering improved customer service, lead generation, and support. They are particularly valuable for businesses that:
- Want to offer 24/7 engagement with visitors.
- Seek to reduce the workload of customer service teams.
- Need a scalable and easily customizable solution.
- Are aiming to stay competitive in a tech-driven market.
Embedding a chatbot no longer requires advanced programming skills. Using tools like Copilot Studio, you can design, deploy, and integrate an intelligent chatbot with just a few steps.
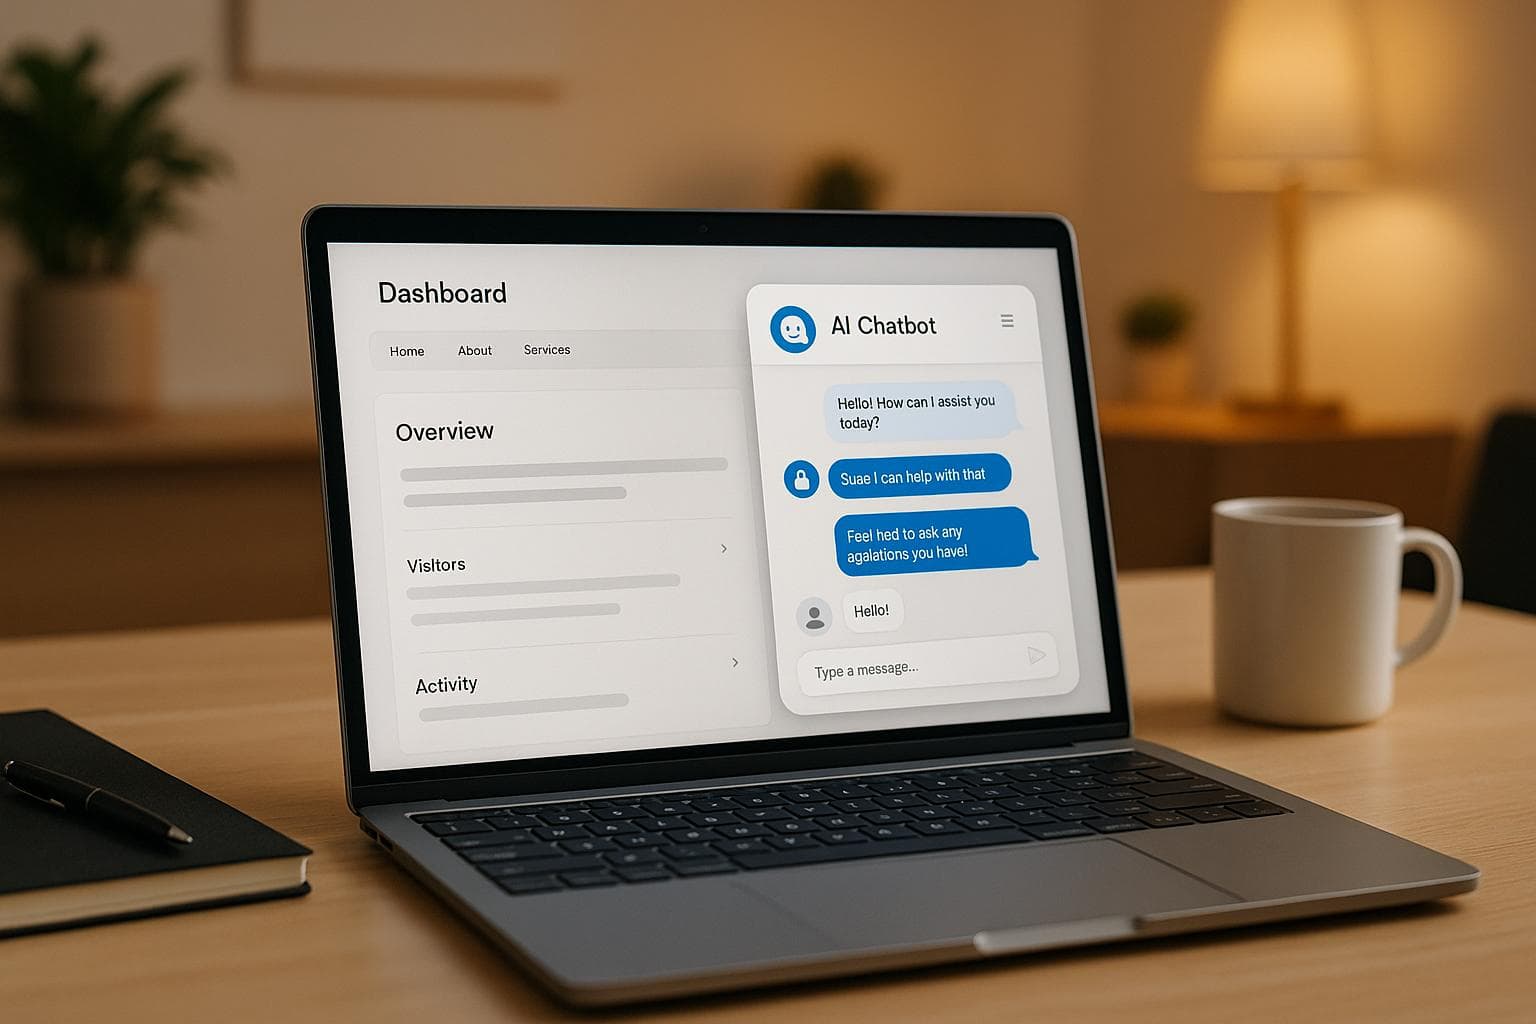
Step-by-Step Guide to Embedding an AI Chatbot
Here’s how you can seamlessly integrate an AI chatbot into your website, from creation to deployment:
Step 1: Design Your AI Chatbot
Before embedding, you’ll need to create and customize your chatbot. Use a platform like Copilot Studio, which provides tools to build an agent tailored to your business needs. During the design process:
- Define the purpose of your chatbot (e.g., sales inquiries, customer support, travel assistance).
- Create a unique introduction and responses to common questions.
- Test its functionality within the platform to ensure it operates as intended.
Pro Tip: Platforms like Copilot Studio allow you to start with a free trial but offer premium versions for advanced features.
Step 2: Generate Your Chatbot Code Snippet
Once your chatbot is ready, you’ll need to publish it on the platform to make it accessible for embedding. Follow these steps:
- Publish the Agent: Ensure the chatbot is live and accessible to the public. Disable authentication if needed to allow open access.
- Obtain the Code Snippet: After publishing, navigate to the "Channels" section in your chatbot platform. Select Web App and copy the provided HTML or JavaScript code snippet.
This snippet is what links your chatbot to your website.
Step 3: Access Your Website’s Hosting Platform
To embed the chatbot, you must have access to your website’s hosting platform. Common platforms include GoDaddy, Bluehost, or similar web hosting providers. For GoDaddy users, here’s how you can proceed:
- Log in to your GoDaddy account.
- Access the CPanel for your website under the Web Hosting section.
- Locate the File Manager in CPanel, which lets you edit your website’s back-end files.
Step 4: Embed the Chatbot Code
Within your website’s file structure, locate the index.php (or equivalent) file. This file typically controls the layout and content of your homepage. Here’s how to proceed:
- Open the index.php file or the relevant HTML file from your File Manager.
- Paste the chatbot code snippet at an appropriate location. Ideally, place it before the closing
</body>tag. - Save your changes and exit the editor.
If your website has multiple "index" files (e.g., index.php, index_copy.php), you may encounter confusion about which file actually loads the website content. To resolve this:
- Add a temporary test code to each file to identify which one affects the live website.
- Adjust the correct file only.
Step 5: Customize the Chatbot
A chatbot that blends seamlessly with your website’s design enhances user experience. Use CSS to adjust the chatbot’s appearance, size, and functionality. For example:
- Make the chatbot a small floating widget in the bottom corner of the screen.
- Add a toggle button for users to open and close the chat window.
- Ensure the chatbot does not block or overlap other website elements.
Modern AI tools, like ChatGPT, can even generate custom chatbot styles for you. Simply describe your requirements (e.g., widget size, colors, positioning), and the tool will provide the appropriate CSS and HTML code.
Step 6: Test and Troubleshoot
After embedding the chatbot, test its functionality to ensure:
- It displays correctly on both desktop and mobile versions of your website.
- It responds accurately to user queries.
- It integrates seamlessly with your website’s existing design.
If the chatbot doesn’t appear or function as expected, revisit the following:
- Ensure the correct file was edited.
- Verify that the code snippet was copied and pasted accurately.
- Check for conflicts with existing website scripts or styles.
Key Customization Tips for Chatbots
Here are some advanced ways to make your chatbot more user-friendly and effective:
- Toggle Functionality: Add a button that lets users open and close the chatbot easily.
- Custom Introductions: Personalize the chatbot’s greeting to reflect your brand’s voice. For example, "Hi, I’m your travel buddy here to make your trips fun!"
- Dynamic Responses: Train the chatbot to offer tailored answers, such as providing travel recommendations or booking links.
- Refresh Functionality: Ensure the chatbot refreshes its state when reopened for a clean user experience.
Common Challenges and How to Solve Them
Issue 1: Multiple Index Files
If your website has multiple index.php files, test each one to determine which file controls the live site. Use temporary text or colors to identify the active file.
Issue 2: Chatbot Not Displaying
Double-check the placement of the code snippet. Ensure it is inserted before the closing </body> tag or in the correct file.
Issue 3: Incorrect Sizing or Overlap
Use CSS to adjust the chatbot’s size and positioning. Ensure it does not dominate the screen or block key website elements.
Issue 4: Outdated Chatbot Code
If you update the chatbot’s settings (e.g., introduction text), you must regenerate its code snippet and re-embed the updated version.
Key Takeaways
- Define Your Chatbot's Purpose: Tailor the agent to your business needs, whether it’s customer service, lead generation, or travel assistance.
- Use a No-Code/Low-Code Tool: Platforms like Copilot Studio simplify the chatbot creation process for non-technical users.
- Identify Your Website’s Active Content File: If your website has multiple
index.phpfiles, determine which one is live before embedding any code. - Customize the Chatbot’s Appearance: Use CSS to adjust size, placement, and toggle functionality for a seamless user experience.
- Test and Update Regularly: Ensure the chatbot works across devices and incorporates any updates to its design or responses.
- Leverage AI Assistance: Use tools like ChatGPT to generate functional code snippets and styling tailored to your needs.
Embedding an AI chatbot doesn’t have to be complicated. With the right tools and a clear understanding of your website’s structure, you can create a highly functional, user-friendly chatbot that enhances the customer experience.
Conclusion
The integration of AI chatbots on websites is revolutionizing how businesses interact with their customers. By following the steps outlined above, you can easily deploy a chatbot that not only improves customer engagement but also provides measurable value for your business. With tools like Copilot Studio and AI-powered coding support, the process has become more accessible than ever - even for those without extensive technical expertise.
Start experimenting, stay creative, and let your chatbot work as a 24/7 companion for your business!
Source: "How to Integrate an AI-Powered Chatbot with Your Website | Copilot Studio Tutorial" - SAFTECH CANADA COLLEGE [SCC] 📚😎, YouTube, Aug 25, 2025 - https://www.youtube.com/watch?v=K96cTSe-FkA
Use: Embedded for reference. Brief quotes used for commentary/review.